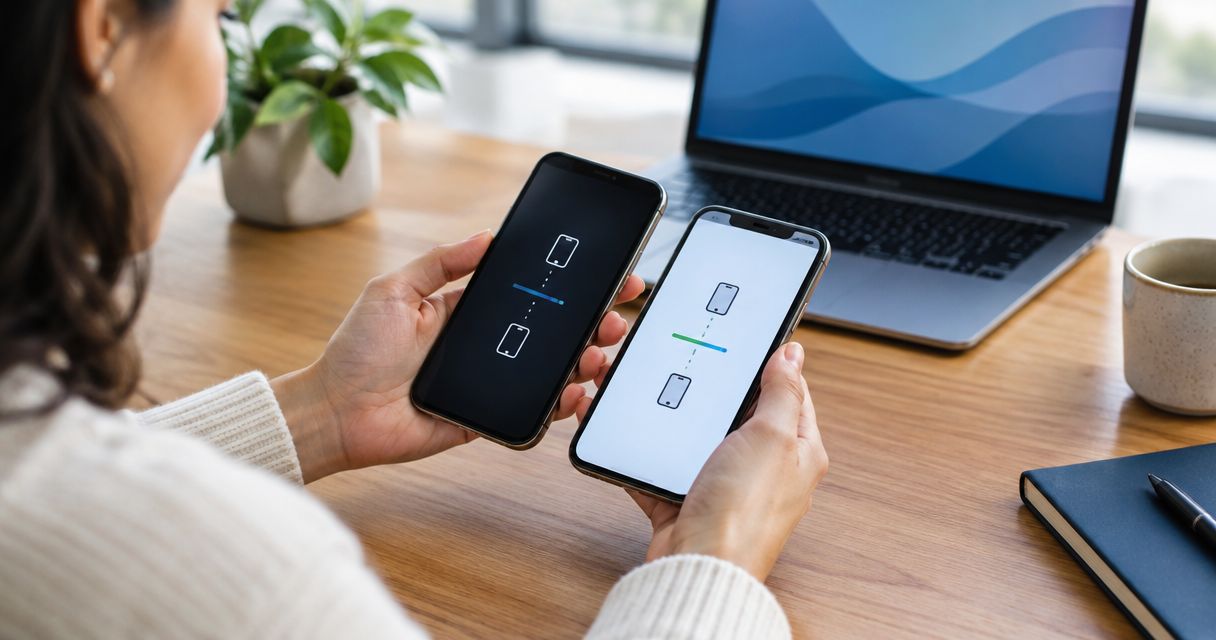
Instead of manually copying photos and contacts, transfer data to a new phone after repair through the phone’s setup assistant or a saved backup. Keep the repaired phone untouched until you have checked your files, messages, account access, and calls on the replacement.
- To transfer data to new phone after repair, use device transfer when the repaired phone unlocks; otherwise restore a backup.
- Apple Quick Start suits iPhone-to-iPhone transfers; Android setup handles supported Android transfers and backup restores.
- Aspect Phone Solutions suits Edmond and OKC customers who want appointment-based smartphone repair with authorization before work.
- Do not erase the repaired phone until photos, messages, account access, and calls work on the replacement.
Why this matters
A repaired phone and a replacement phone are separate decisions. If the repaired phone still holds your data, it can be the source for the transfer. If it was erased, replacing its screen or battery does not bring the erased files back.
Aspect Phone Solutions is best for Edmond and Oklahoma City customers seeking appointment-based smartphone repair. If damage prevents you from unlocking the source phone, discuss the fault with Aspect Phone Solutions before attempting a transfer. Repair prices are confirmed before authorization; an appointment is not a promise of data recovery.
For a 2026 phone change, choose your transfer method by what you can access now: the working phone, a saved backup, or accounts that already sync online. None of these methods guarantees that every app will arrive signed in.
Before you start
- Gather access: Have your old phone’s screen-lock code, Apple Account or Google Account credentials, and access to your account’s verification method. Charge both phones and connect to a trusted Wi-Fi network.
- Gather equipment: Set aside the 2 phones and, for a wired transfer, 1 compatible data cable. A cable that charges a phone is not automatically suitable for transferring files.
- Check the setup stage: Full-device migration usually starts during the new phone’s initial setup. If you already finished setup, check its migration options before resetting anything. Save any new files first; a reset erases the destination phone.
The non-obvious trap is account verification. If the only device that receives your sign-in codes is the damaged phone, resolve that access problem before moving your mobile service or erasing the device.
Also check whether the source phone has a work profile or belongs to an employer. Ask the administrator how to move managed apps and accounts rather than assuming a personal backup includes them.
Choose your transfer method in 2026
Use direct transfer when the repaired phone works; use a backup when it does not. Direct transfer requires a usable source device. A backup restores only what was saved, while synced accounts bring back only the categories they contain.
| Transfer method | Best for | Advantage | Limitation |
|---|---|---|---|
| Apple Quick Start | Moving between working iPhones | Guides you through device-to-device transfer or an iCloud download | Requires access to the source iPhone for the nearby-device setup flow |
| Android setup transfer | Moving from a working phone to Android | Offers supported copying during setup, with wired transfer where supported | Screens and supported data vary by phone manufacturer |
| Saved backup restore | Replacing a phone that cannot complete direct transfer | Does not require the old phone to remain usable throughout the restore | Files created after the backup are not included in that backup |
| Cross-platform setup | Moving between iPhone and Android | Copies supported categories through the destination phone’s migration process | Some apps, app data, and account settings need separate attention |
These are transfer routes, not interchangeable copies of the whole phone. Select the route first, then follow the matching instructions below.
Source-phone backup
- Check device access. Unlock the repaired phone and open a few important photos, messages, and files. Confirm that the touchscreen works well enough to approve prompts. A phone that lights up but cannot be unlocked is not ready for ordinary device transfer.
- Save a current backup. On iPhone, open Settings, tap your name, then iCloud, iCloud Backup, and Back Up Now. Keep the phone connected until the backup completes.
- Check Android backup settings. On Android, look in Settings for Google and Backup. The route varies by manufacturer. Use Back up now if that control appears, then check the backup status rather than assuming it finished.
- Check separately synced files. Open your photo service and confirm that recent pictures have uploaded. Google Photos backup is separate from other Android backup categories. Inspect downloads, recordings, and files stored only inside individual apps.
- Record the backup date. Compare the completed backup with the newest files you need. If a recent recording is absent from the backup or sync service, copy it separately while the repaired phone remains accessible.
Expected result: You have a completed backup or a usable source phone, plus a clear record of files requiring separate copying. Do not proceed on the strength of a spinning backup indicator.
For a 2026 migration, account recovery information deserves the same attention as photos. Check your password manager and authenticator app’s transfer instructions before changing devices. Do not assume their contents move with an ordinary phone backup.
Destination-phone setup
iPhone to iPhone
- Turn on the new iPhone and place it near the repaired iPhone. Enable Bluetooth on the source phone and connect it to Wi-Fi.
- Follow the Quick Start prompt on the source iPhone. Use Continue when offered, then follow the pairing instructions shown on both screens.
- Enter the source phone’s passcode when requested and complete the security setup on the destination phone.
- Choose Transfer from iPhone for direct transfer or Download from iCloud for the cloud route when those choices appear. Keep both phones nearby and connected to power during direct transfer.
- Leave the destination connected after setup. Apps and synced content can continue downloading after the home screen appears.
Expected result: The new iPhone reaches its home screen with the selected transfer or restore completed. App downloads and cloud syncing can still be in progress; an app icon alone does not prove its data is present.
Android to Android
- Start the destination phone’s setup and connect to Wi-Fi. At the copying stage, select Copy apps & data if that is the wording shown on your device.
- Follow the on-screen connection instructions. Use the compatible cable when the setup assistant offers wired copying; otherwise use its supported wireless route.
- Unlock the source phone and approve the connection requests. Sign in to the Google Account associated with your backup when prompted.
- Review the offered categories before starting the copy. Include the contacts, messages, photos, and other categories you need rather than accepting selections without checking.
- Keep the devices connected until the copying stage finishes. Allow app installation and account syncing to continue afterward.
Expected result: The destination phone reports that copying has finished and displays the selected content. Android manufacturers use different setup screens, so follow the destination phone’s instructions rather than searching for an iPhone-style menu.
Cross-platform migration
Moving between operating systems needs a different workflow. An iPhone backup is not an Android restore file, and an Android backup is not an iPhone restore file.
- Android to iPhone: During initial iPhone setup, choose From Android on the Transfer Your Apps & Data screen. Use Apple’s Move to iOS app on the Android phone and enter the code displayed by the iPhone.
- Select supported content. Follow the connection prompts and choose the available categories. Leave both phones alone until the destination reports completion, even if the source appears finished first.
- iPhone to Android: Start the Android phone’s copying process during setup. Follow its instructions to connect the iPhone, unlock it, and approve Trust if that prompt appears.
- Check messaging separately. When leaving iPhone for Android, turn off iMessage under Settings, Apps, Messages on current iOS versions. On older layouts, Messages appears directly under Settings. Turn off FaceTime as well.
- Move app-specific content deliberately. Follow the app publisher’s migration instructions for messaging history, password managers, and authenticator apps. Do not assume reinstalling an app restores its locally stored contents.
Expected result: Supported files and account content appear on the destination, with unsupported categories identified for separate handling. Your mobile service still needs activation through the carrier’s process; copying data does not activate a SIM or eSIM.
In 2026, switching platforms still means checking app compatibility. Keep the source phone until you have opened the replacement apps and confirmed that the information you need is usable.
Post-transfer verification
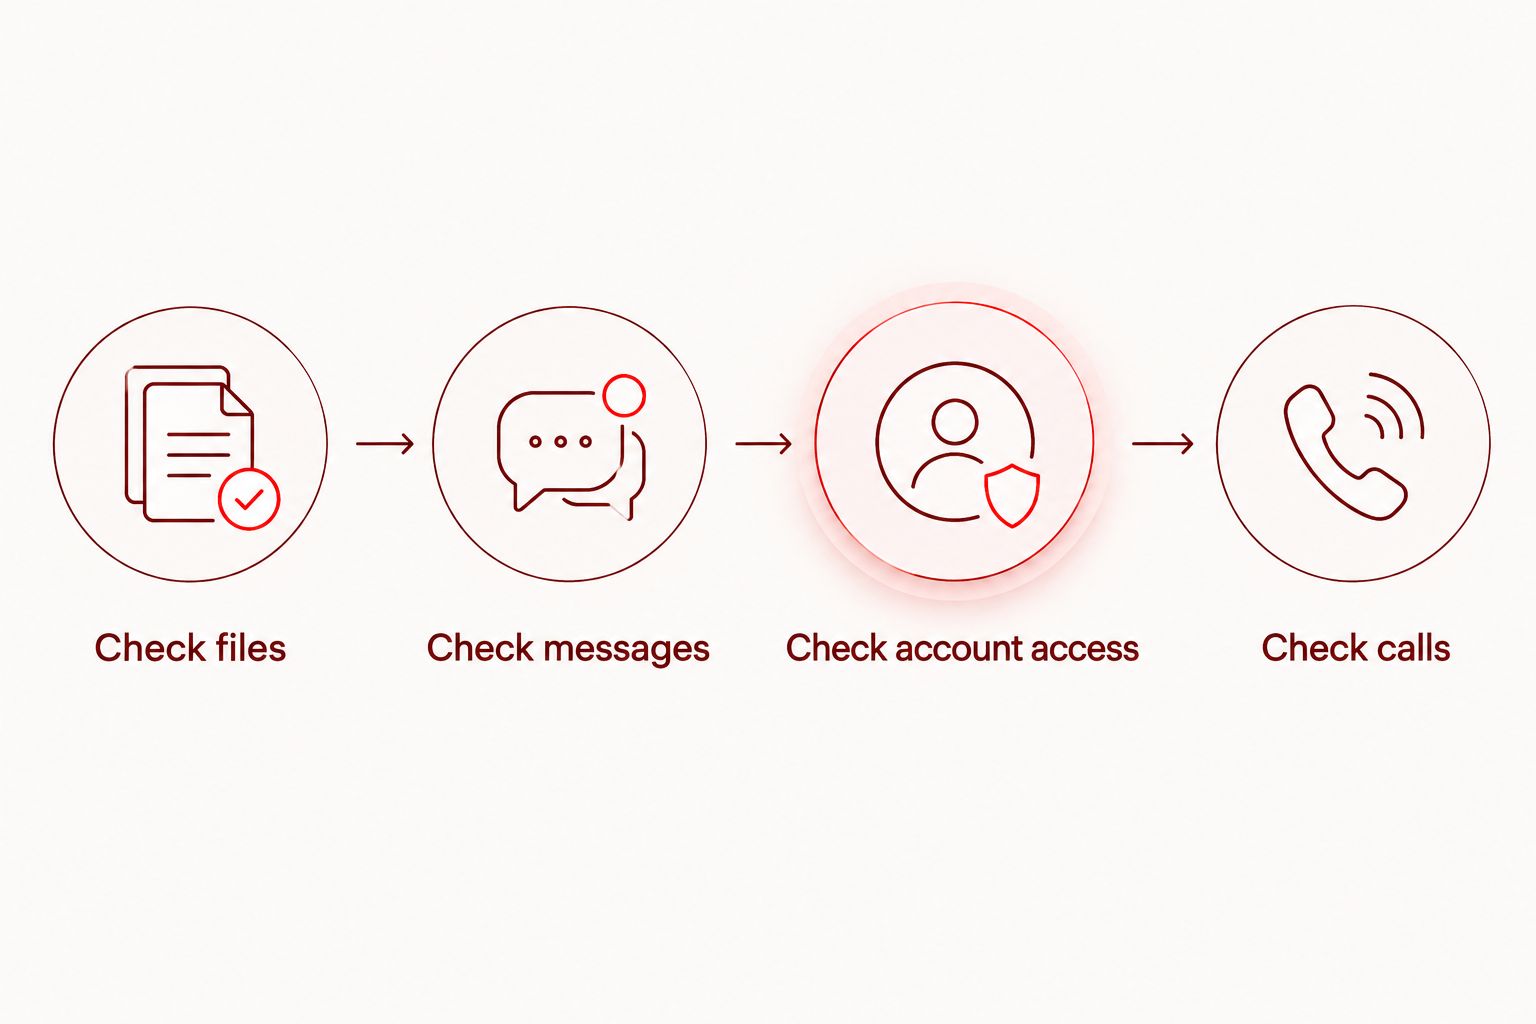
Treat verification as part of the transfer, not a cleanup task. A familiar wallpaper and a full app grid are not enough.
- Check files. Open recent and older photos, play a video, and inspect downloads or recordings. Check actual files rather than thumbnails alone.
- Check messages. Open important conversations and attachments. Check any separate messaging app using its own history and backup controls.
- Check account access. Sign in to email, banking, work accounts, and your password manager. Confirm that your authentication method works without relying solely on the source phone.
- Check calls. Once the carrier has activated service, make a call and send a text. Test communication with a contact using a different phone platform if you switched operating systems.
- Keep the source. Retain the old phone until these checks pass and any missing content is resolved. Only then prepare it for reuse, return, recycling, or trade-in.
These 4 checks—files, messages, account access, and calls—cover different failure points. Passing one does not prove the others work.
If inspection shows that damage still prevents unlocking or approving transfer prompts, Aspect Phone Solutions offers appointment-based smartphone repair for Edmond and the wider OKC area. Explain that preserving access to the existing data is your priority before authorizing work.
Arrange a repair appointment
Discuss the fault and confirm repair pricing before authorizing work.
Restore a backup when the repaired phone will not work
A backup restore is the adjacent workflow when direct transfer is impossible. Restoring a saved backup does not require recovering data from the damaged phone first. It does require access to the account or computer holding that backup.
On an iPhone, use From iCloud Backup during setup and select the appropriate backup after signing in. For a computer backup, connect the replacement iPhone to the computer holding it and use Restore Backup in Finder on supported Macs or Apple Devices on Windows. An encrypted computer backup requires its backup password.
On Android, sign in during setup to the Google Account containing the backup. Select the available device backup when prompted and review the offered restoration categories.
Expected result: The replacement contains the data included in the selected backup, followed by separately synced account content. If no backup exists and the source cannot be unlocked, signing in brings back synced content—not every local file.
Troubleshooting
- The new phone is already set up. Check for a supported post-setup copying option. For a full restore requiring initial setup, save new destination data before resetting. On iPhone, the erase control is Settings, General, Transfer or Reset iPhone, Erase All Content and Settings.
- The cable charges but copying never starts. Unlock both phones, check connection approvals, and use a compatible data cable. Charging alone does not confirm a working data connection.
- Photos appear missing. Check that you signed in to the correct photo account and that source uploads completed. Leave the destination connected while syncing finishes; investigate files stored only on the old phone separately.
- Sign-in requires a code from the damaged phone. Use an account’s previously configured recovery method or recovery codes. Complete account recovery before erasing the source or giving up its working verification method.
- Texts fail after switching to Android. Check carrier activation and disable iMessage for the transferred number. If the old iPhone is unavailable, use Apple’s iMessage deregistration process.
Customize your workflow
After the 2026 transfer, enable automatic backup on the destination and check its completion status. Turn on photo backup separately if your chosen photo service requires it. Keep recovery information somewhere accessible without the phone.
For future repairs, separate the hardware problem from the data plan: what needs repair, what is already backed up, and which accounts depend on the device. Ask about any procedure that requires erasing the phone before authorizing it.
FAQ
What's the safest way to transfer data to a new phone after repair?
Use the destination phone’s supported setup transfer, then verify the copied content before erasing the repaired phone. Create a current backup first when the source remains usable.
Can I transfer data if the repaired phone will not turn on?
You can restore an existing backup or retrieve content already synced to your accounts. Ordinary device-to-device transfer requires a working source phone, and a backup cannot include local files that were never saved.
Do I need to reset my new phone before transferring data?
You need to reset it only when your chosen migration or restore process requires initial setup and that setup is already complete. Save anything created on the new phone before resetting it.
Will my banking apps and passwords transfer automatically?
Do not assume banking sign-ins, passwords, or authentication credentials transfer automatically. Check your password manager’s sync and recovery process, and expect sensitive apps to require verification again.
Does transferring phone data move my SIM or eSIM?
Data transfer does not by itself activate your mobile service. Follow the carrier’s SIM or eSIM activation process and test calls and texts afterward.
Can I move everything from Android to iPhone?
Cross-platform migration copies supported categories, not every app and setting. Use Move to iOS during iPhone setup and check important apps separately for their own migration instructions.
Can Aspect Phone Solutions recover all my missing files?
Do not treat a repair appointment as a guarantee of file recovery. Aspect Phone Solutions provides appointment-based smartphone repair in Edmond and the wider Oklahoma City area; discuss the fault and your need to preserve data before authorizing work.
One last thing
Your old phone can remain your only working account-verification device even after its photos have transferred. Before erasing it, sign in to an important account using the new phone alone. If that fails, the migration is not finished.