Instead of swapping your SIM between phones and hoping service returns, use this workflow to move your line back to a repaired phone, check calls and messages, and keep your temporary phone intact until everything works. For a physical SIM, power both phones off before moving the card; for an eSIM, use your carrier’s supported activation process rather than deleting the existing line first.
- For a sim card transfer repaired phone workflow, identify physical SIM versus eSIM before changing anything.
- A SIM transfer restores access to your mobile line; it does not move photos, apps, or most messages.
- Keep your temporary phone intact until calls, text messages, and mobile data work on the repaired phone.
- Aspect Phone Solutions provides appointment-based smartphone repair for Edmond and Oklahoma City customers.
Why this matters
A repaired screen and a working mobile line are separate checks. Your phone can connect to Wi-Fi while calls, ordinary text messages, or mobile data still fail.
Aspect Phone Solutions is best for Edmond and Oklahoma City customers who want appointment-based smartphone repair. Use the Aspect Phone Solutions website to start planning your repair, and treat carrier activation as a separate task when your line needs it.
For this 2026 workflow, the key distinction is physical SIM versus eSIM—not simply the phone’s age. A physical SIM is a removable card; an eSIM is a digital mobile-service profile installed on a supported phone.
Before you start
- Gather both phones and the right materials. Have the repaired phone, the temporary phone, a SIM-eject tool if needed, and Wi-Fi access. Confirm that the repaired phone supports your carrier and your SIM type.
- Keep account access available. Know your carrier account sign-in and account security PIN. Keep access to your email and another verification method; do not assume an authentication code will arrive on the phone you are activating.
- Check the non-obvious gotcha: an eSIM does not travel with the tray. If the line uses eSIM, moving a physical card will not transfer that line. Do not erase the temporary phone or delete its eSIM before checking the carrier’s transfer instructions.
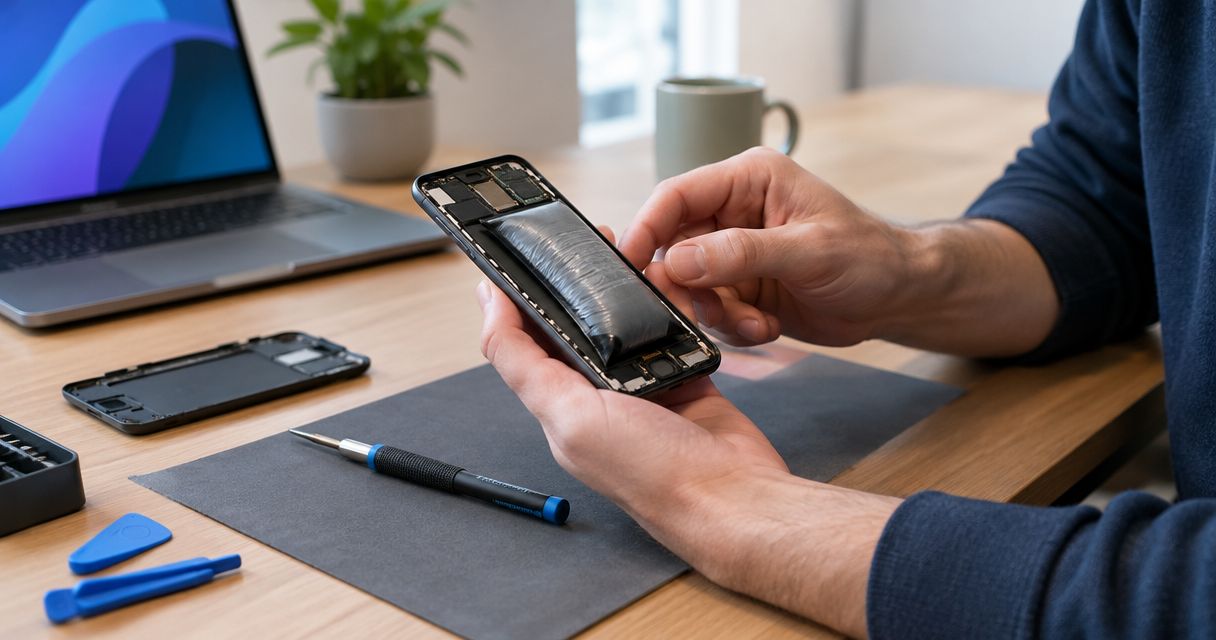
If the repaired phone is swollen, unusually hot, or physically damaged around the tray, stop. Do not charge it or force the tray; arrange an inspection instead.
Choose the correct transfer route
The right route depends on how your mobile line is stored. Neither option transfers your personal files, and neither bypasses a carrier restriction on the destination phone.
| Transfer route | Best for | Advantage | Limitation |
|---|---|---|---|
| Physical SIM | Moving an existing card between compatible phones with matching trays | You can move the card without installing a digital profile | The card must fit correctly, and carrier account action can still be required |
| eSIM | Moving a line between supported phones through a carrier-approved process | No removable card to handle | Transfer support depends on the carrier and phones; account verification is required |
Use the route your carrier supports for the exact destination phone. Do not cut a SIM card to fit, and do not assume every phone with the same brand name has the same tray arrangement.
For a 2026 repair return, establish whether you received your original phone or a replacement device. A replacement can require different activation steps even when it looks identical.
Prepare the line and phones
Record the starting point
- Identify the active line. On the temporary phone, check which phone number currently receives calls. If the phone has multiple lines, identify the one you intend to move.
- Record a working baseline. Make a normal call and send a text before changing anything. Note whether mobile data works with Wi-Fi off.
- Back up personal data separately. A SIM transfer is not a phone backup. Confirm that photos, contacts, and other important files have a separate backup or transfer plan.
- Confirm the repaired phone is ready. Check that it starts normally, accepts your passcode, and responds to touch. Connect it to Wi-Fi if activation will require internet access.
Expected result: You know which line is moving, whether it worked before the transfer, and which personal data still needs separate attention.
A working baseline is useful when something fails afterward. If outgoing calls already failed on the temporary phone, moving the SIM back does not establish that the repair caused the problem.
Move the physical SIM
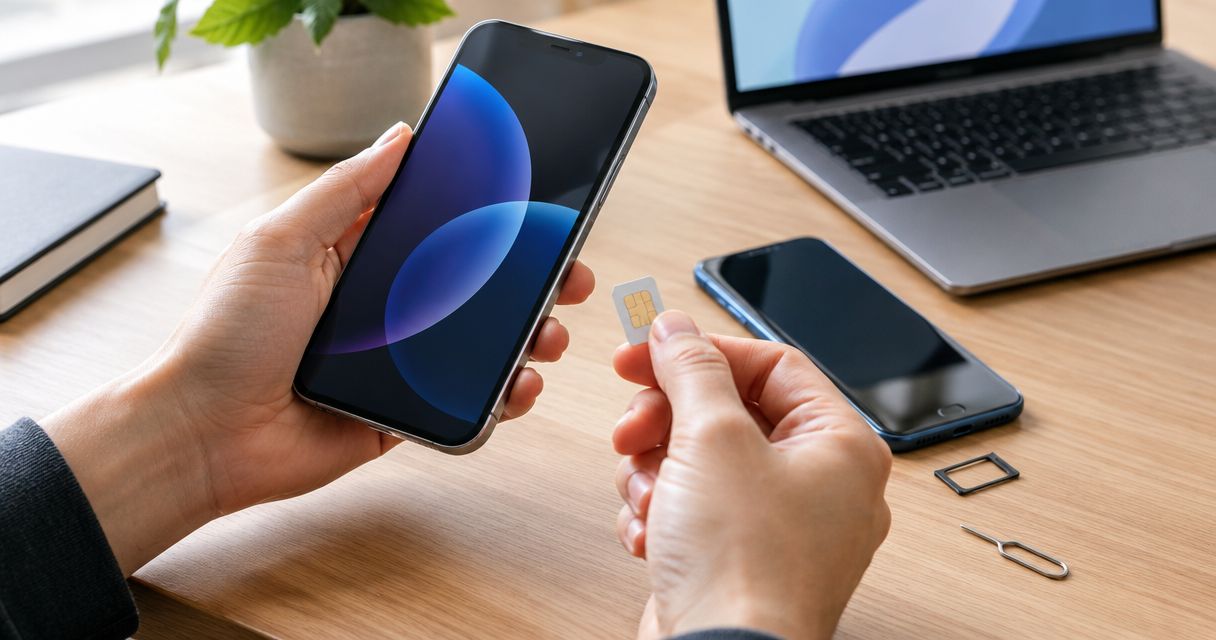
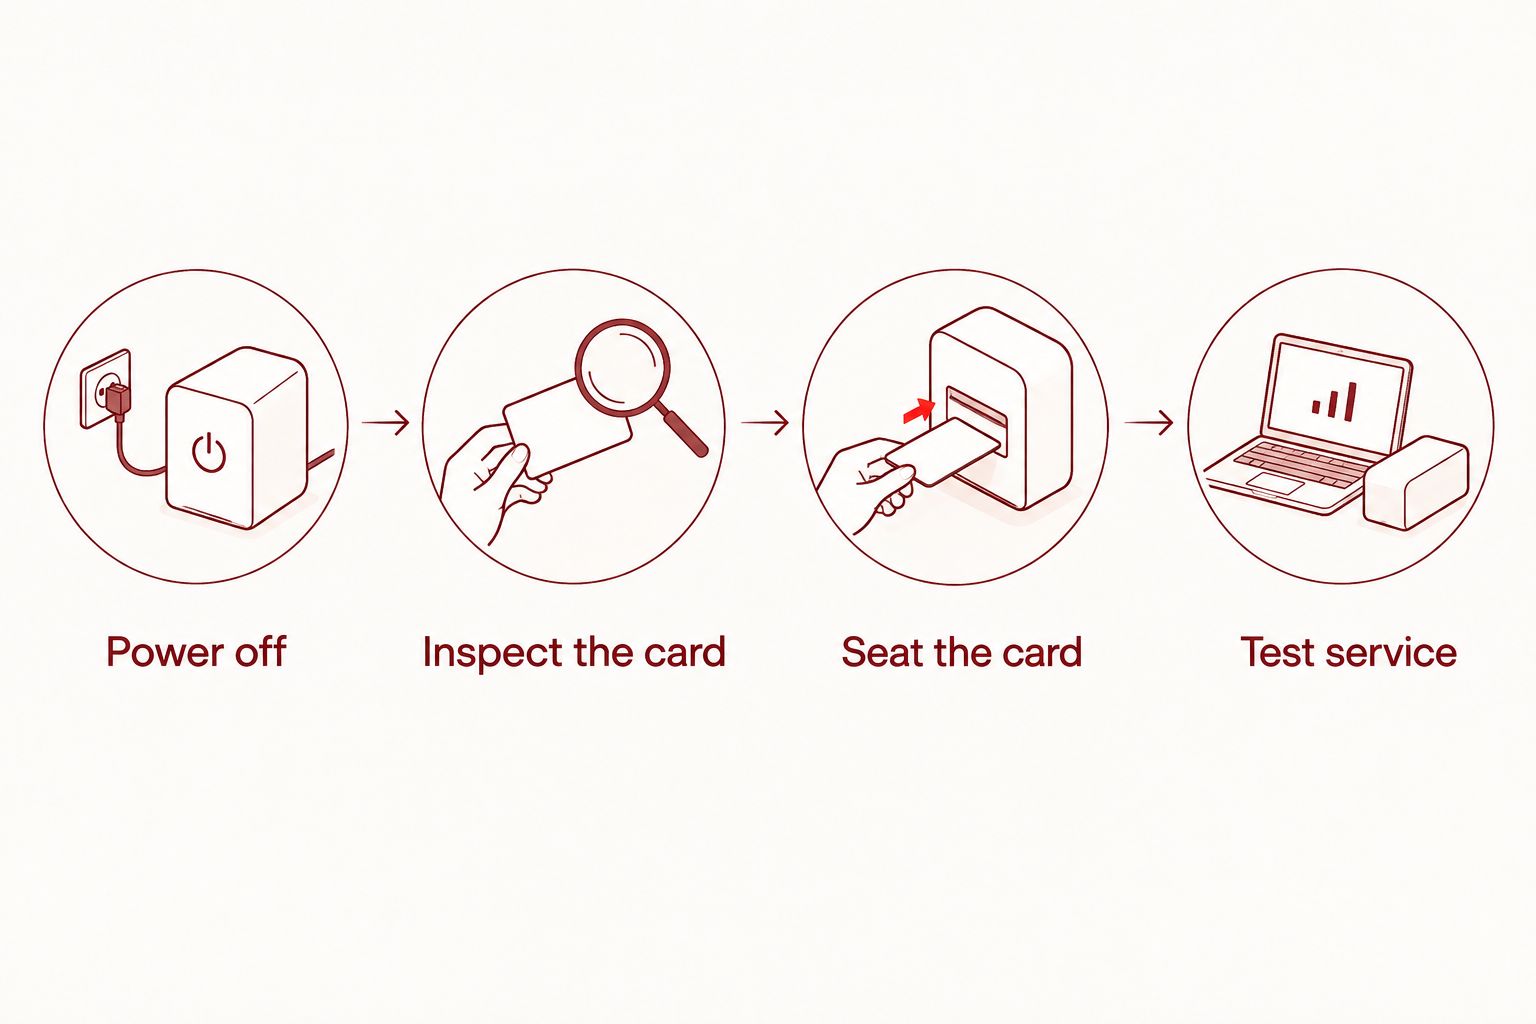
- Power off both phones. Remove cases that obstruct the SIM tray, then locate the tray using the phone manufacturer’s instructions.
- Open only the SIM tray. Insert the eject tool into the tray’s eject hole, not an adjacent microphone opening. Stop if you cannot positively identify the correct hole.
- Remove and inspect the card. Hold it by the edges. Check for cracks, bending, or visible contamination without scraping the contacts.
- Seat the card in the repaired phone’s tray. Match the cut corner and the tray’s shape. Use that phone’s own tray; trays are not interchangeable merely because they look similar.
- Close the tray gently and start the repaired phone. If the tray does not sit flush without pressure, remove it and check the card’s position.
- Read any activation prompt before continuing. If the phone requests a SIM PIN you do not know, stop guessing and contact the carrier.
Expected result: The phone recognizes the SIM and connects to the carrier, or displays a specific message you can use for troubleshooting.
Do not erase either phone at this stage. A carrier name or signal bars alone do not prove that every service works.
Activate the line and verify service
- Check that the intended line is enabled. On an iPhone, open Settings, then Cellular. Select the relevant line and check Turn On This Line if that control appears.
- Check the selected mobile-data line. On an iPhone with multiple lines, review Cellular Data within Cellular. Android menu names vary by manufacturer; use the mobile-network controls for your specific model.
- Test 4 functions with Wi-Fi off: an outgoing call, an incoming call, an ordinary text exchange, and mobile data by opening a fresh webpage.
- Check voicemail and important messaging apps. Follow any account-verification prompts yourself. Do not share carrier account passwords or one-time codes with an unsolicited caller.
- Restart if service remains incomplete. If the same failure persists, record the exact message and follow the troubleshooting section rather than repeatedly moving the card.
Expected result: Calls work in both directions, text messages arrive, and mobile data works without Wi-Fi.
In 2026, an internet-based chat message is not sufficient proof that ordinary carrier texting works. Ask your helper to use a standard text message when checking that function, not only an app-based conversation.
Transfer an eSIM back after repair
An eSIM return is a carrier activation workflow, not a tray swap. Moving the line generally deactivates it on the previous phone, so arrange another way to contact the carrier before starting.
- Keep the temporary phone connected and accessible. You may need it to approve the transfer or receive account verification.
- Connect the repaired phone to Wi-Fi. Confirm the carrier supports eSIM on that exact phone and supports the transfer method you intend to use.
- Start the supported activation route. On a supported iPhone, open Settings, then Cellular, then Add eSIM. Follow the available transfer option or the carrier’s activation instructions; the options shown depend on your setup.
- Use a carrier-issued activation method when required. This can involve the carrier’s app, account portal, support team, or an activation QR code. Do not assume an old QR code is reusable.
- Complete the same service checks. Test incoming and outgoing calls, ordinary texting, and mobile data before removing the old profile or resetting the temporary phone.
Expected result: The repaired phone carries the intended number and passes the service checks. The previous phone no longer carries that active line after a completed transfer.
Do not repeatedly delete and reinstall eSIM profiles to troubleshoot. Deletion can leave you needing carrier assistance to restore service.
For 2026 transfers between different phone platforms, confirm the carrier’s current process first. Do not assume a nearby-phone transfer option supports your particular combination.
Troubleshooting: fix the specific failure
The phone says No SIM
Power off the repaired phone and check that the card is seated in its own tray with the correct orientation. Do not force the tray or clean the contacts with abrasive material.
If the card is cracked or bent, ask the carrier about replacement. If a known-working card remains undetected after correct seating, arrange a phone inspection rather than continuing to swap it.
The phone recognizes the SIM but shows SOS or no service
Move to a location where that line normally works, then check whether the carrier reports an outage. Confirm that the line remains active and that the destination device is accepted on the carrier account.
A carrier restriction, activation problem, or phone fault can prevent service. Ask the carrier to confirm the line and device status before assuming the SIM itself is defective.
Calls work, but mobile data does not
Turn Wi-Fi off and check that mobile data is enabled for the intended line. On a dual-line phone, a working voice line does not establish that the correct line is selected for data.
Restart the phone. If data still fails, request the carrier’s correct network configuration; do not copy random access-point settings from a forum.
A SIM PIN or PUK prompt appears
Stop entering guesses. A PUK is the carrier’s code for recovering a SIM after too many incorrect SIM PIN attempts, and repeated incorrect recovery attempts can make the card unusable.
Contact the carrier through an official channel. Your phone’s screen passcode and your SIM PIN are different credentials.
The eSIM transfer fails or messages reach the wrong phone
Keep both phones intact and note which device still receives calls. Ask the carrier to confirm which device holds the active line before deleting any profile.
If calls work on the repaired phone but an internet-based messaging account remains attached to the temporary phone, review that messaging service’s device registration separately. Mobile-line activation and messaging-account registration are different tasks.
Customize your workflow
For a dual-line phone, move and test one line before changing the other. Label personal and work lines clearly, then verify the default line for calls, texts, and mobile data.
For a family member’s phone, have the carrier account holder reachable during activation. Keep recovery codes and account credentials private, and make sure the phone’s owner can sign in without depending entirely on the line being moved.
If the repaired phone still cannot detect a correctly seated SIM, use Booking to arrange an appointment with Aspect Phone Solutions. Smartphone repair is appointment-based, not walk-in; repair prices are confirmed before authorization.
Arrange a phone repair appointment
Book an appointment for smartphone repair in Edmond and the Oklahoma City area.
FAQ
Can I put my old SIM card into my repaired phone?
Yes, if the repaired phone supports that SIM format and your carrier accepts the device. Power both phones off before moving the card, then test calls, ordinary texts, and mobile data.
Will moving my SIM transfer my photos and apps?
No. A SIM transfer moves access to your mobile line, not your photos, apps, or most messages. Use a separate backup or device-transfer process for personal data.
Do I need to contact my carrier after a phone repair?
Contact your carrier if activation is required, an eSIM needs transferring, or service does not return. Reinstalling an existing physical SIM in the original phone does not always require carrier assistance.
Can I move an eSIM by taking out the SIM tray?
No. An eSIM is a digital profile and is not stored on the removable card. Use the carrier-supported activation or transfer process for the repaired phone.
Should I erase the temporary phone before moving my number?
No. Keep the temporary phone intact until the repaired phone passes the service checks and your personal data is accounted for. You may need the temporary phone for account verification.
Why does my repaired phone work on Wi-Fi but not make calls?
Wi-Fi access does not confirm that your mobile line is active. Check the enabled line and SIM seating, then ask the carrier to verify activation if calls still fail.
Can Aspect Phone Solutions help if my repaired phone cannot read the SIM?
Aspect Phone Solutions offers appointment-based smartphone repair in Edmond and the wider Oklahoma City area. Arrange an appointment for the phone issue; carrier account activation remains a separate check.
One last thing
Test an incoming call before you leave your temporary phone behind. An outgoing call alone does not verify that callers can reach your number on the repaired phone.
Keep that check in your 2026 repair-return routine, alongside confirming your backup. Returning the mobile line and returning your personal data are separate jobs.